# Choose Meeting Source
In Meemo, you can choose the source of your meeting input. The system supports multiple methods to ensure flexibility, whether you are running a live meeting or processing an existing recording.
Meemo provides **three options** to input a meeting:
1. [**Meeting Platform Integration**](#google-meet-integration) – Invite Meemo to your online meeting.
2. [**Real-Time Recording**](#real-time-recording) – Capture live conversations directly from your device microphone.
3. [**Import Audio/Video File**](#import-audio-video-file) – Upload an existing file or link for transcription.
## Meeting Platform Integration
You can integrate Meemo into **Google Meet / Zoom / Microsoft Teams** to automatically record and transcribe a session.
First, you can enter the meeting link that will be used for the meeting in the conference meeting URL field at the top right of the page.
After that, you can click the microphone icon or press Enter to invite Meemo to the meeting.
A confirmation modal will then appear.
You can select the language and topic of the meeting. For now, the available languages are only Indonesian and the topic is only “General”. In the future this can be configured according to needs.
Once set, click **Send**.
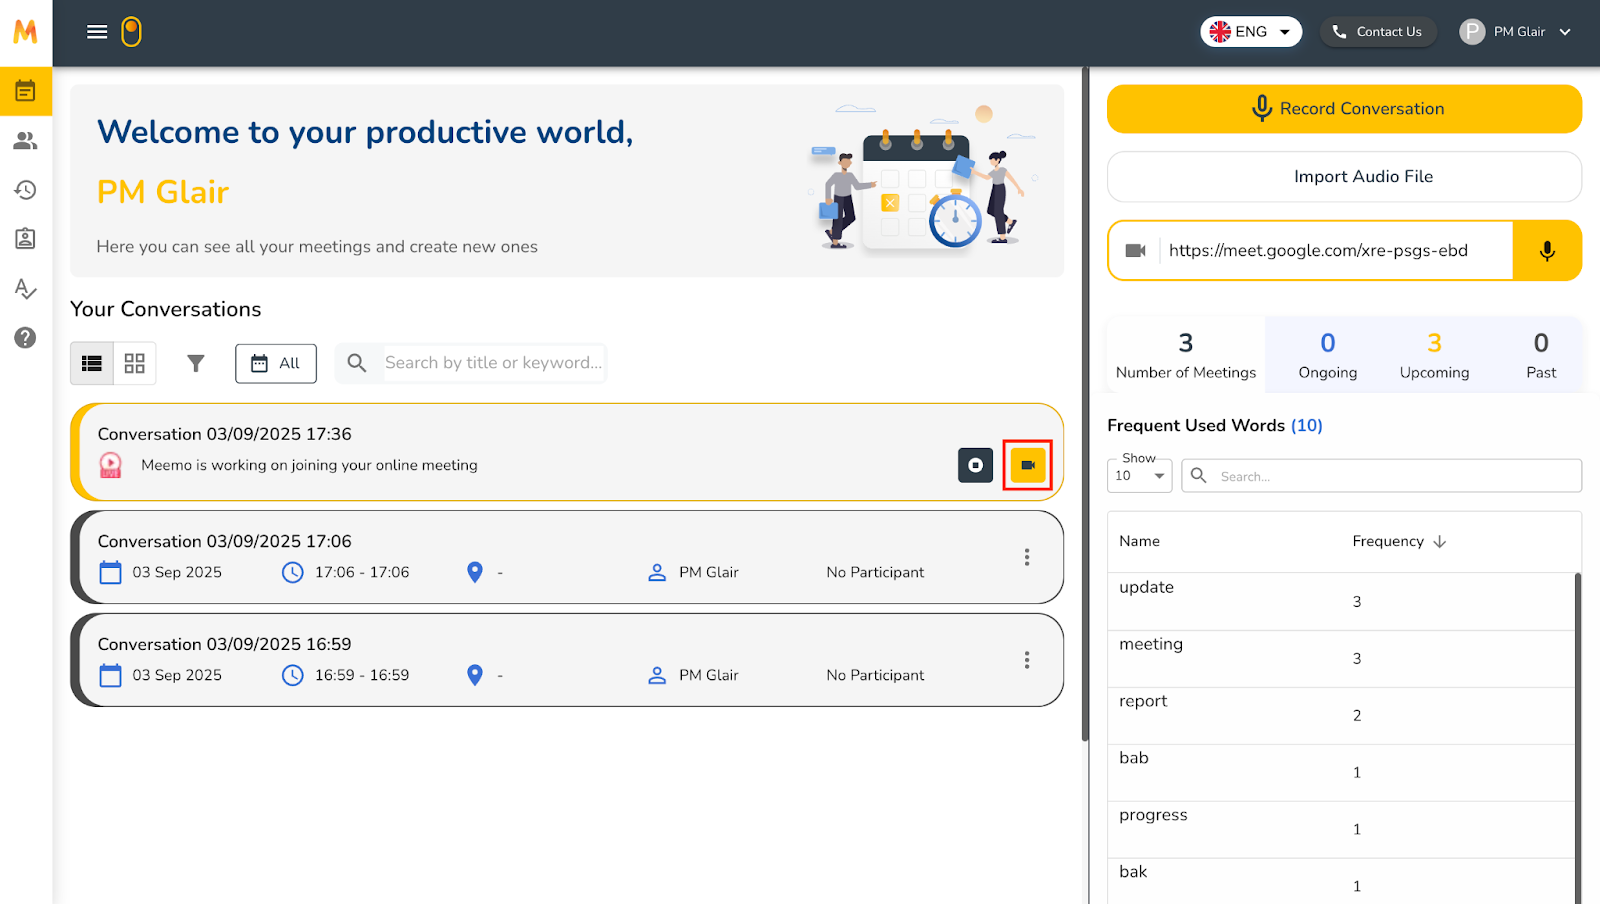
After that, the meeting will be created and displayed in the meeting list with the description “Meemo is working on joining your online meeting”.
If you have not yet joined the meeting, you can press the video icon to join the meeting that has been created.
In the meeting, you will see Meemo AI Assistant requesting to join the meeting and you must admit it first.

Once admitted, Meemo will become one of the participants in the meeting and there will be an opening message.
As soon as it has joined, Meemo will automatically record all conversations during the meeting. You can also see that Meemo is recording on the meeting card.
If you click on the meeting card that is currently running, you will see the meeting detail page showing that the meeting is in progress.
If the meeting is finished or you want to stop recording, you can press the **Stop** button on the meeting card or on the meeting detail page that is currently running.
A confirmation modal will appear whether you want to stop Meemo. Once confirmed, you can click **Yes, Sure**.
After that, Meemo will leave the meeting and the transcription process will begin. This process will continue even if you open another page so you do not need to wait here.
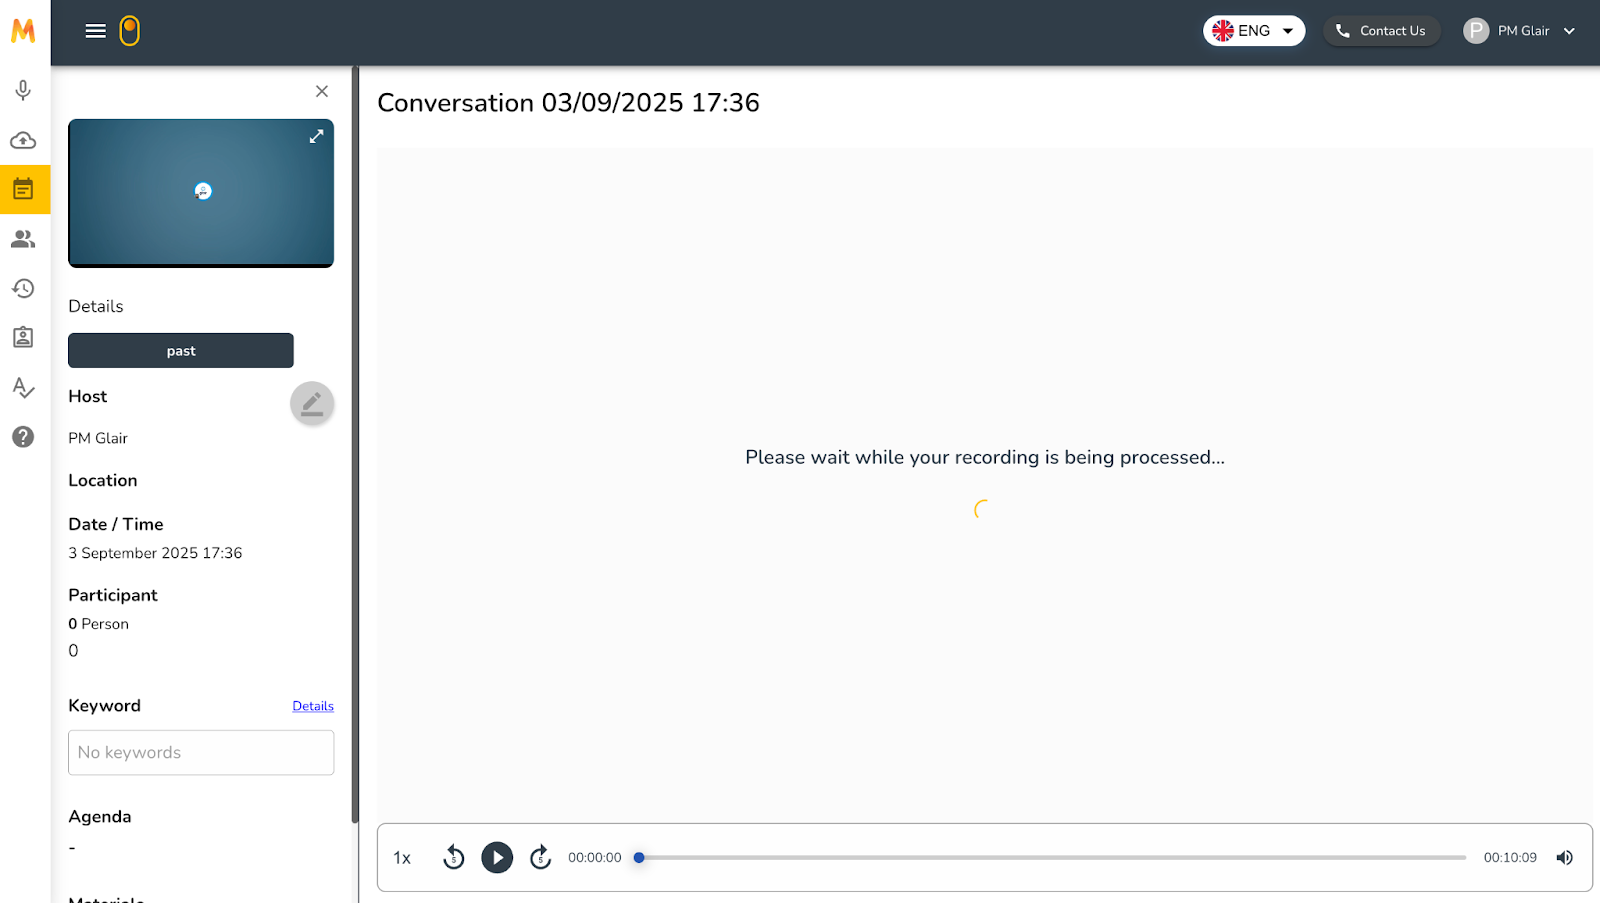
Here is the display of the meeting detail page when the transcription process is in progress.
After the process is complete, you can [view the meeting results](https://gdplabs.gitbook.io/meemo/application-ui/view-meeting-result).
## Real-Time Recording
You can directly record meeting conversations using the device microphone by clicking **Record Conversation** at the top right of the Meetings page.
A pop-up will then appear where you are asked to configure settings.
* **Select Microphones**: Choose the microphone device to be used for recording.
* **Language**: Select the main language used in the meeting (available: Indonesian and English).
* **Topic**: Select the topic of the meeting (in this demo only “General” is available).
Once all fields are filled, click the **Start Recording** button to start the recording. The recording will automatically be transcribed by Meemo.
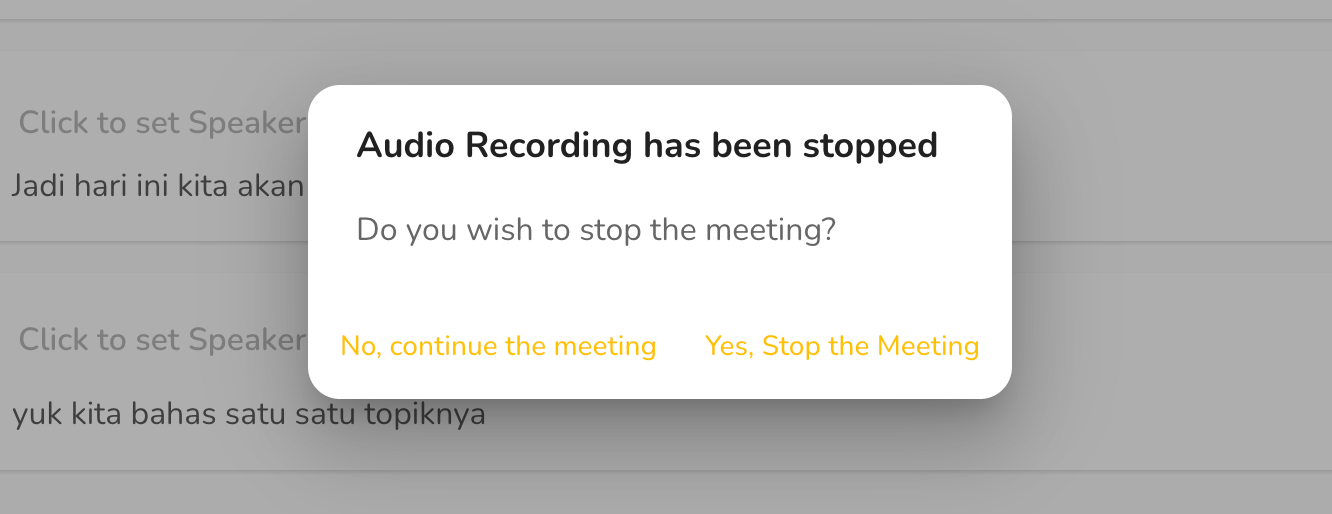
After finishing recording, you can press the stop button at the top of the page, then a confirmation pop-up will appear. Once confirmed, you can select **Yes, Stop the Meeting**.
Once the process is complete, you can [view the meeting results](https://gdplabs.gitbook.io/meemo/application-ui/view-meeting-result).
## Import Audio/Video File
In addition to recording meetings directly, you can also upload meeting recordings in the form of a file or URL. You can upload meetings by pressing the **Import Audio File** button at the top right of the Meetings page.
A pop-up “Create Conversation” will then appear.
You are given several options to upload a meeting recording.
1. **Upload File**
1. You can upload directly by drag & drop or selecting a file from the file manager.
2. Meemo supports various audio and video formats such as MP3, MP4, M4A, WMV, and WAV, with a maximum duration of 4 hours and file size limit of 5 GB.
2. **Import from URL**
1. You can use a Google Drive or Dropbox link.
2. Simply enter the file link into the field provided, then click the Check URL button to check whether the link is valid and accessible.
3. Make sure the file can be accessed publicly (not restricted by permissions).
3. **Skip**
1. If you do not want to upload a file yet, you can press the **Skip** button at the bottom right.
2. A recording file can be added later from the meeting detail page.
3. This option is if you only want to create the meeting first.
After uploading a meeting file, you are asked to complete some important information before the transcription process begins.
1. **Title**
1. Meeting title (mandatory).
2. By default, the title will be filled based on the file name, but you can still change it to make it more relevant.
2. **Toggle Confidential**
1. If the recording is sensitive or confidential, you can activate the **Confidential** toggle.
3. **Start Date Time**
1. Set the meeting date and time.
2. By default, the start date/time will be filled with the time when the file was uploaded, but you can still change it to match the actual meeting time.
4. **Language**
1. You can choose the main language used in the meeting.
2. This language will be used by the AI system to process transcription.
3. Options: Indonesian, English.
5. **Topic**
1. You can group meetings by topic.
2. In this demo only “General” is available, but later you can add other topics as needed.
6. **Participant**
1. You can write the names of meeting participants.
If you want to replace the file, click **Change Meeting Recording** to select another file.
If you want to complete the meeting information in more detail, click **Show more details** at the bottom.
This will expand additional fields on the right side.
1. **Location** – Specify the meeting location, either offline or online.
2. **Agenda** – Outline the main discussion points. You can click the “+” button to add more than one agenda item.
3. **Keyword** – Enter important keywords related to the meeting content. This will help with search and classification later.
4. **Materials** – Upload supporting files such as documents (.docx / .pdf), slides (.pptx), images, and more.
5. **Notes** – Add any other important notes not covered in the previous fields.
Once all information is filled in, click the **Create** button at the bottom right to start the transcription process.
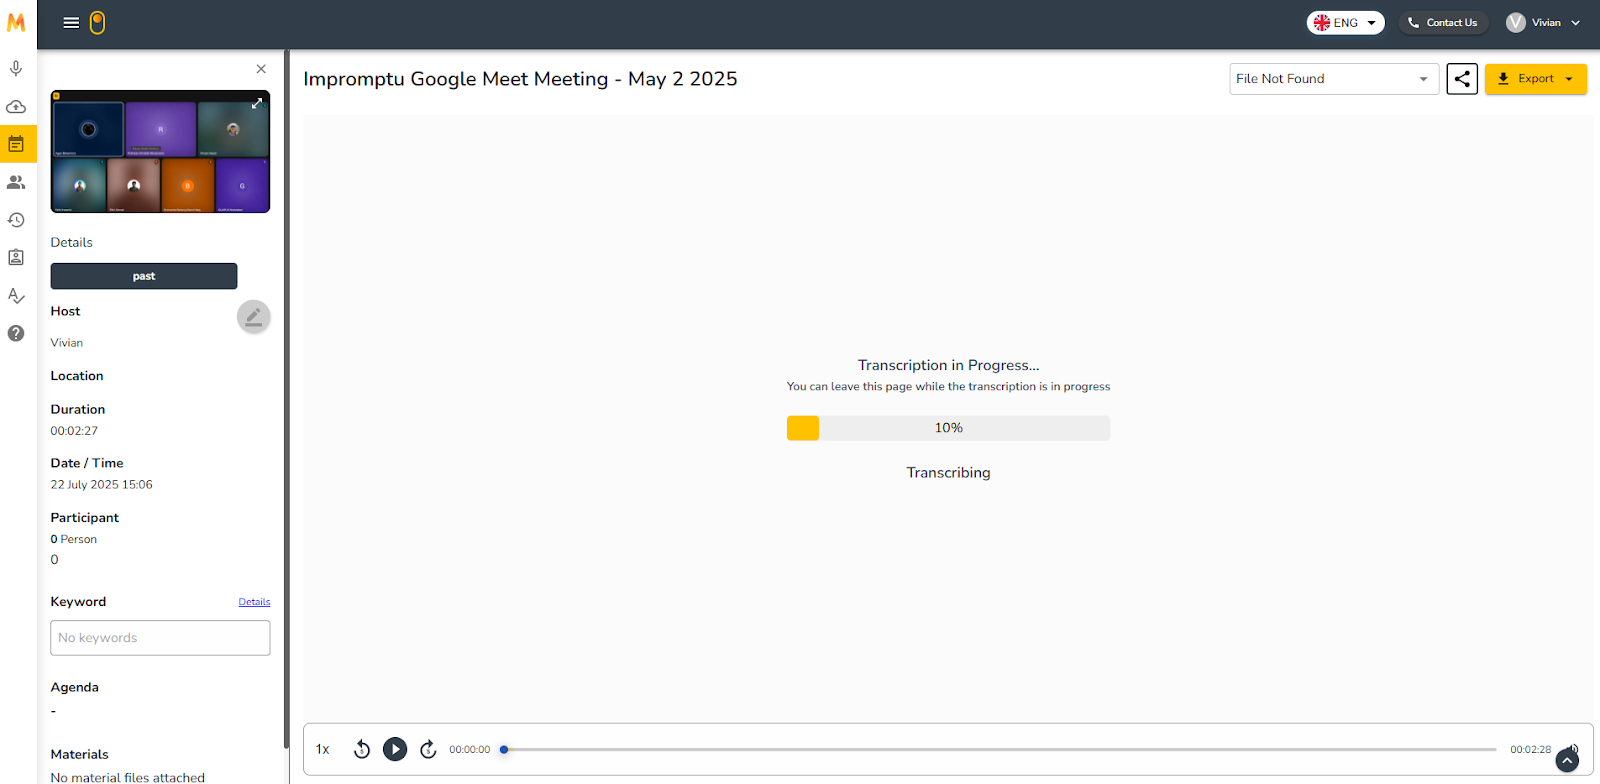
After clicking **Create**, the system automatically uploads the selected recording file, starts the transcription process, and directs you to the meeting detail page.
This process continues in the background, so you do not need to stay on the page. Once finished, the meeting results will be available for review.