| Column Names | Description | Is Required? |
|---|---|---|
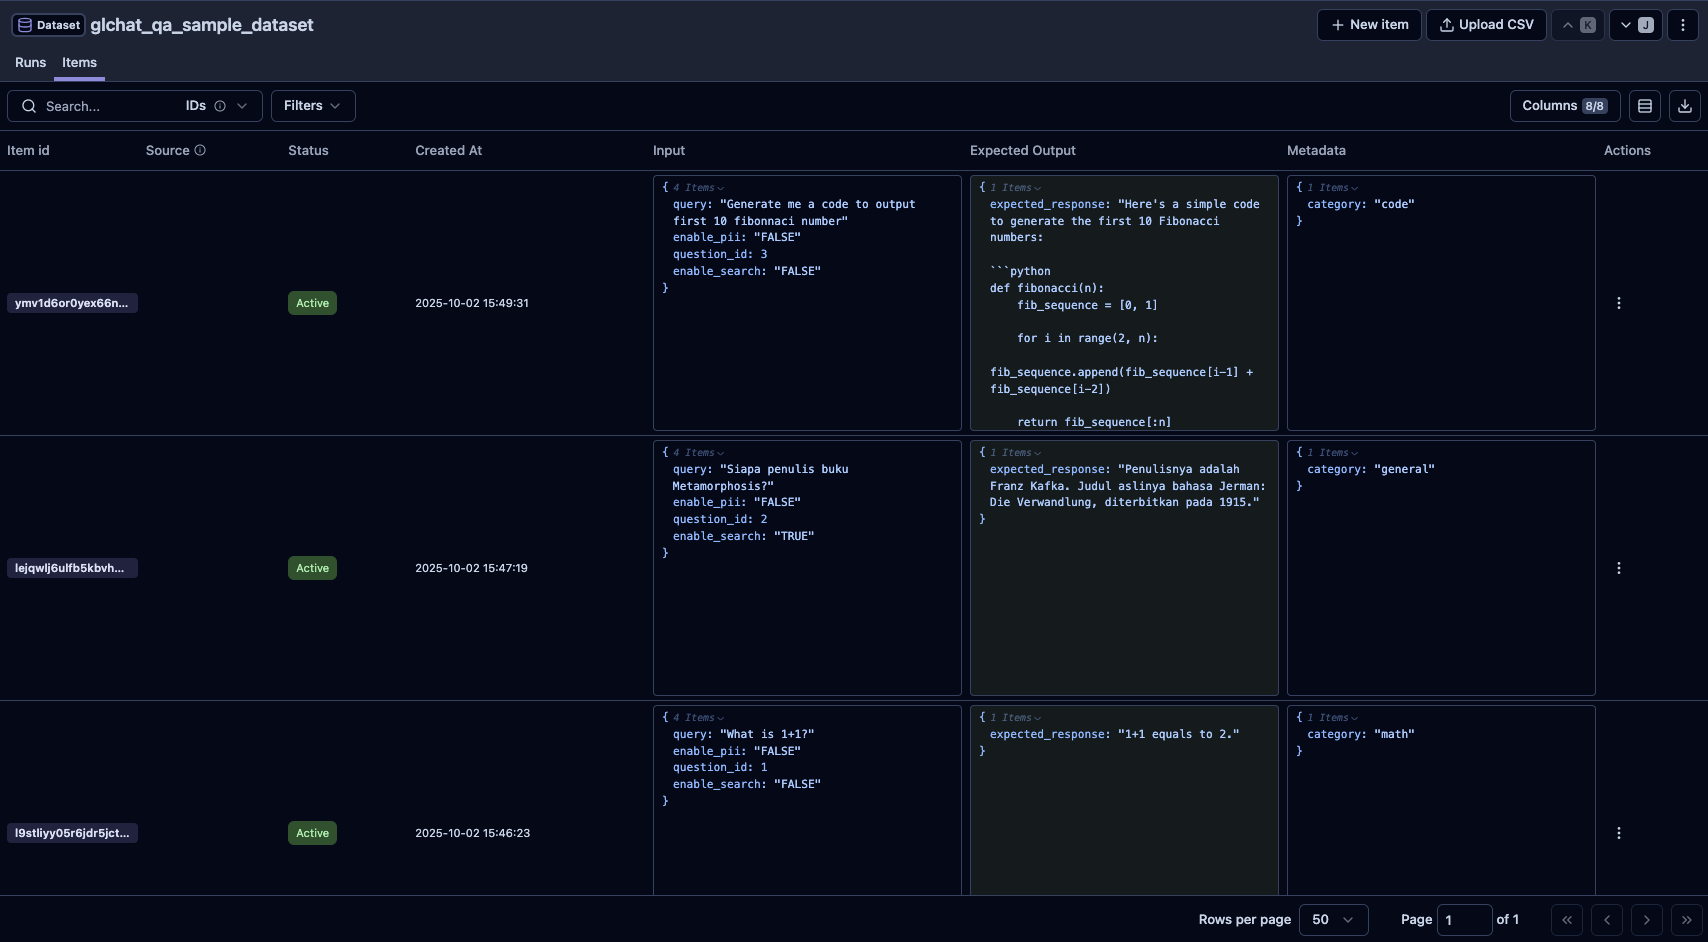
| question_id | Unique identifier for each query. | true |
| query | The question to ask. | true |
| expected_response | The expected answer to be compared. | true |
search_type ("normal" or "search") | Whether to enable search functionality in GLChat. All rows will be set to "normal" (no search capability) if the column is not stated. | false |
enable_pii (True or False) | Whether to enable PII processing. All rows will be set to | false |
| model_name | The model to be used for response generation for each row in GLChat. If the column is not stated, it will check the provided config for the global configuration. If it is also not stated, it will use the default model based on the provided chatbot. | false |
| chatbot_id | The chatbot id to be used for response generation for each row in GLChat. If the column is not stated, it will check the provided config for the global configuration. | false |
| attachments | The file names to be used for each row. Left empty for rows not using any attachments. This column is mandatory ONLY if you have attachment(s) to be used for response generation. To see more details, you can visit the Attachments page. | false |
| Other additional fields | Any additional fields you deem necessary to be included. Will not affect the evaluation process. | false |